Delivery Runs Set Up
Step 1. Name your 'Delivery Run:' customer tags
In Transactor Lab Manager, go to Tools menu → Control Centre → Advanced → Tags
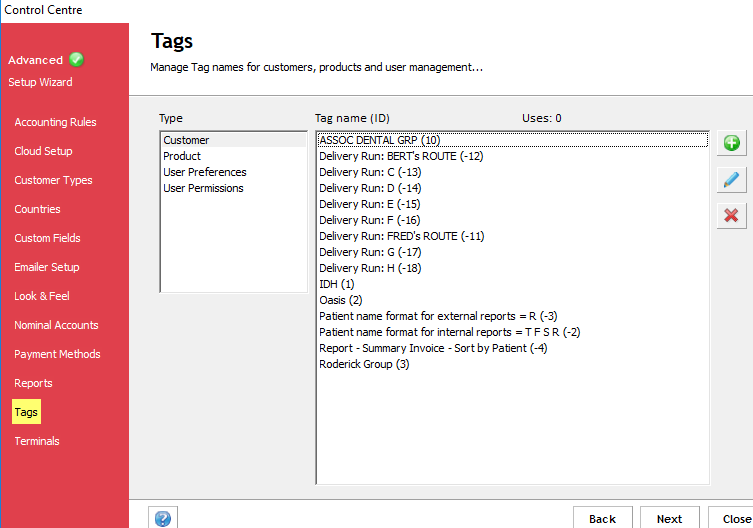
There are 8 pre-existing customer tags name Delivery Run: A through to Delivery Run: H
Edit any of these to specify the name's of your delivery routes.
Leave the characters Delivery Run: intact.
See the above screenshot which shows 2 modified tags:-
Delivery Run: BERT's ROUTE
Delivery Run: FRED's ROUTE
Step 2. Assign Practices (and any Dentists who are not associated with a Practice) to Delivery Runs with drop-off positions
In Transactor Lab Manager, select each practice in turn and add the appropriate Delivery Run tag.
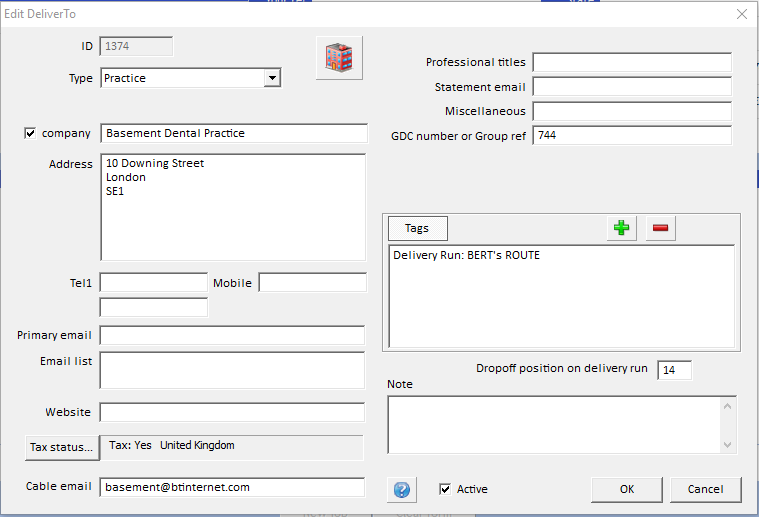
You can also set the drop-off position of the practice within the particular delivery run.
You will have to work this out based on the practices making up the run.
To list and further edit Delivery Runs:-
Go to DeliverTo menu → Select or Add new... → Search = Delivery Runs...
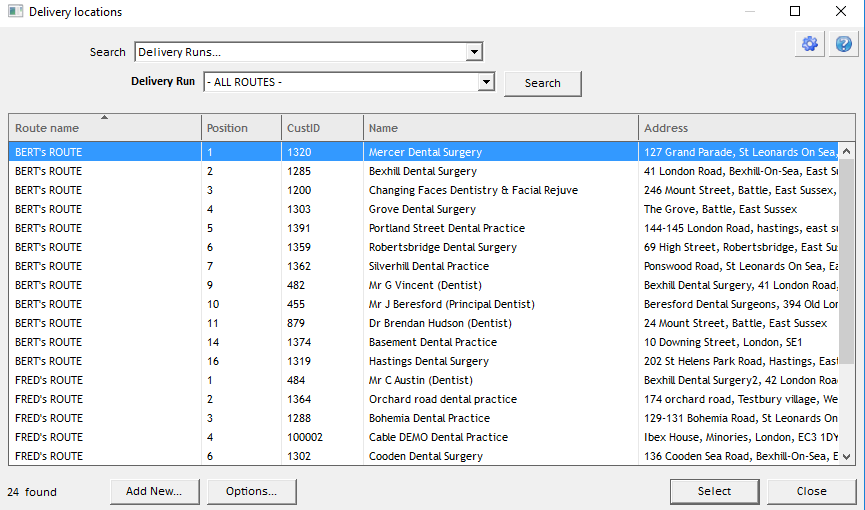
You can filter the search by specific Delivery Runs...
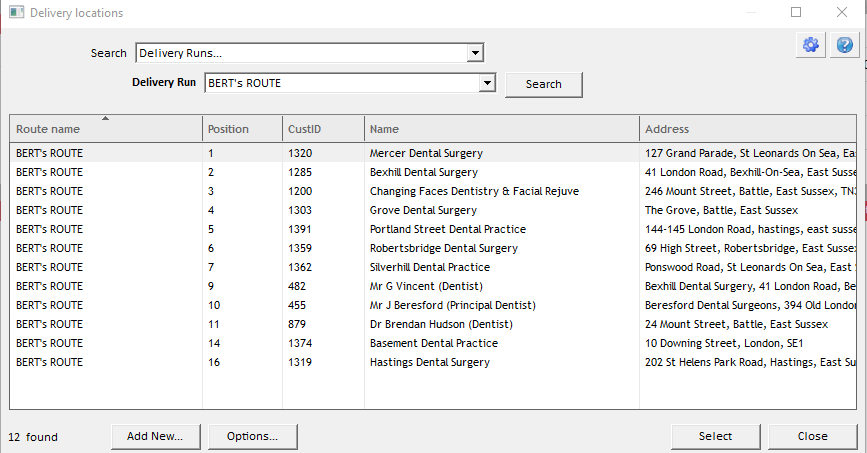
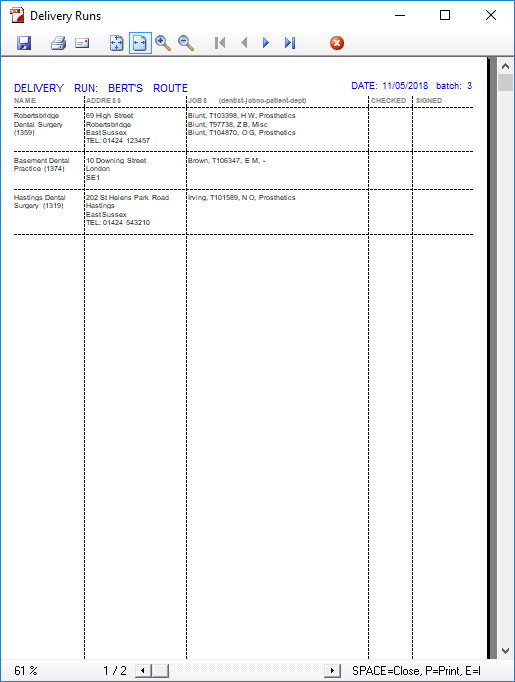
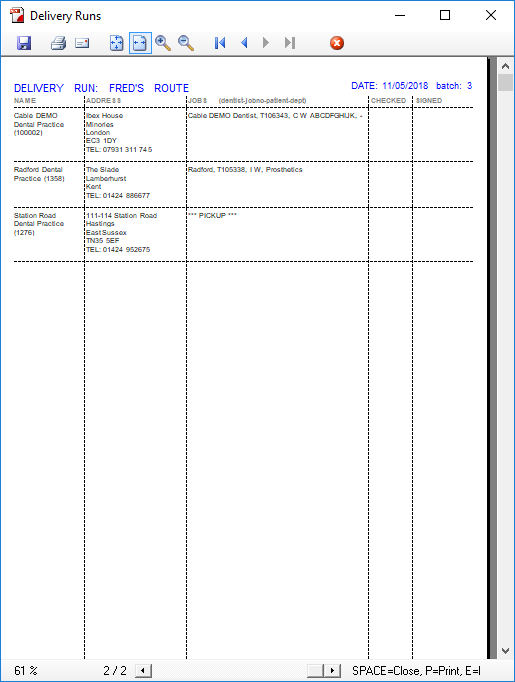
As you can see, the delivery locations are sorted by drop-off positions.
You can adjust positions by highlighting a row and pressing SPACEBAR.
Or, either right click the mouse or left click the Options button and choose Edit... from the dropdown menu.
In the 'Edit DeliverTo' dialog adjust the drop-off position and click OK.
The list will automatically refresh to reflect the change in position.
Once you are happy with your Delivery Runs set up, the following pages illustrate how to generate Delivery Runs.
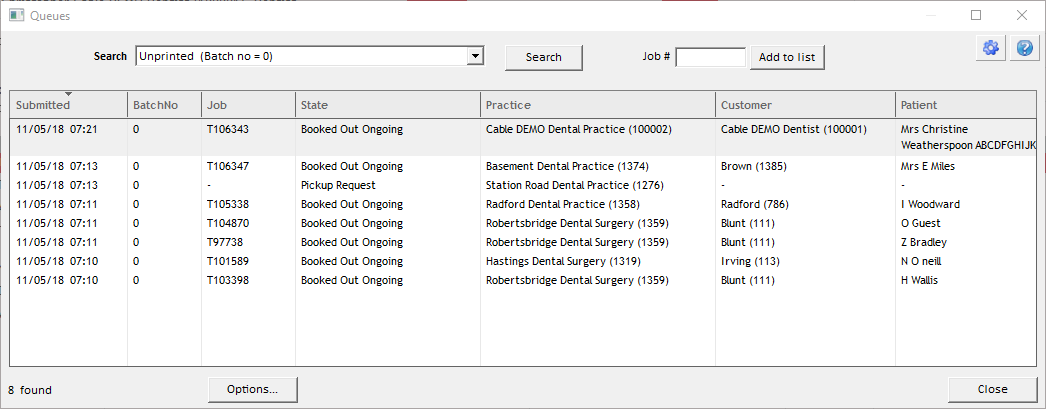
In Transactor Lab Manager, go to Tools menu → Queues...
Alternatively type Ctrl+Q
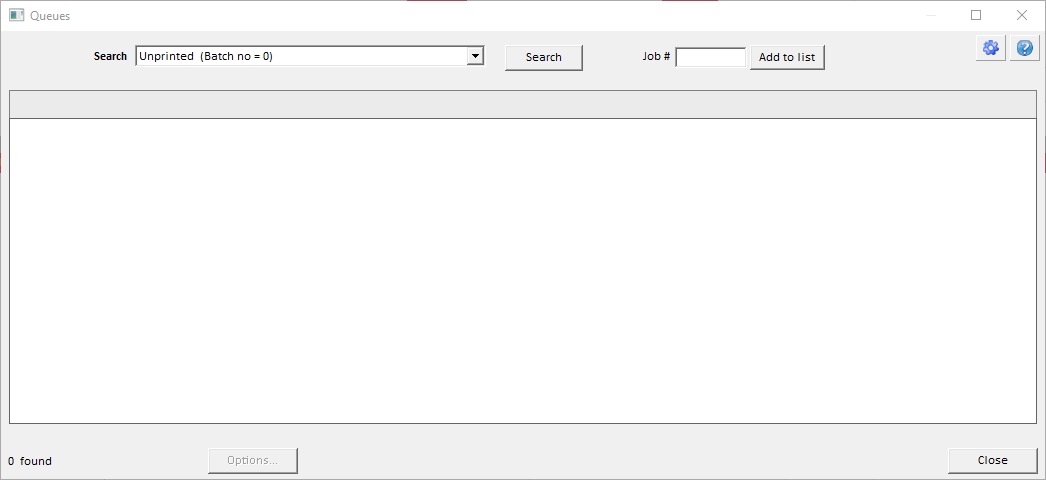
Queues: This initially lists the 'Unprinted' batch of jobs for delivery and pick-up requests.
You add jobs for delivery and pick-up requests to this 'unprinted' list, and when you are ready to load the delivery vans you run the Delivery Runs report which will collate all the jobs and pick-up requests into their appropriate delivery runs, so you can print the delivery run sheets for each of your drivers.
There are different ways you can add jobs and pickup-requests to the unprinted queue...
| 1. | In the Queues dialog window, click in the Job # box and either type or scan a job number or pickup code. After each entry, the item appears at the top of the list and the cursor remains in the Job # box ready to accept the next entry. |
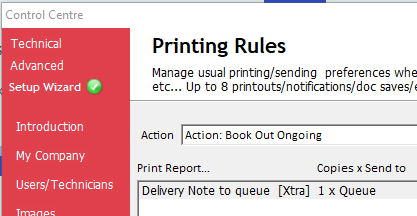
| 2. | Job deliveries can be automatically added when on Action – Book out, if 'Printing Rules' are set up such that 'Delivery Note to queue' is sent to Queue. |

To enter a Pickup-request – in the Job# box...
A pickup request code is the letter P followed by the Practice or Customer ID. For example, to add a pickup-request for practice ID 1374, you should type P1374 in the Job # box then press Return or click "Add to list".
You can print pickup-request barcodes for your practices / delivery locations using...
Report menu → Practices → Pickup Request Barcode
To run the Delivery Runs report, either
| • | click the Options button and choose Delivery Runs Report... from the dropdown menu, or, |
| • | from the main form go to... Report menu → Delivery → Delivery Runs |

Batch number 0 represents the currently un-printed batch.
Click OK to generate the Report Runs to preview window.
The generated batch will be assigned a batch number so that the run can be re-produced if needed.
Batch 0 will be cleared ready for the next lot of jobs and pickup requests.