Sending and receiving notes and attachments
|
You can send notes to the customer, and they can send comments over to you. Additionally, both parties can attach files to the job - such as 3D scans, photos and other documents.
Additionally, attachments and notes can only be added by a user account with the permission to do this. Generally, notes and attachments created by you (or the other users at your location) will be aligned to the LEFT. Notes and attachments created by the other party will be aligned to the RIGHT. In the following screenshot, as the lab, our notes and attachments are aligned to the left, with the dentist and practice's notes aligned to the right.
Note that you can Open, Add New or Delete general notes and attachments by right-clicking on the item and choosing the appropriate action from the pop-up menu.
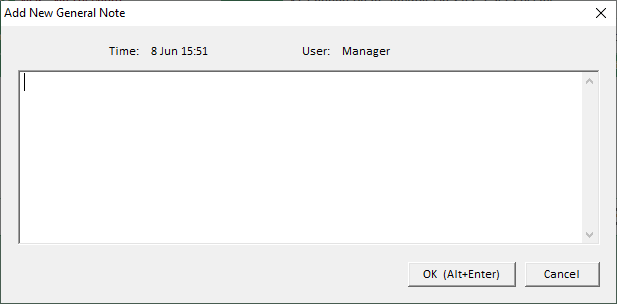
Sending general notes
You will see your note appears in the General Notes area, left aligned, with the date and time, and with your user code prefixed before it.
If you need to add a PRIVATE general note, use Job menu > Add PRIVATE general note. PRIVATE general notes are only visible to the lab. PRIVATE notes appear in red text.
Receiving general notes from the dentist
The incoming note will be shown in the General Notes area, right aligned, with the date and time, and with the dentist's user code prefixed.
Sending attachments
You will see the file name appears in the Attachments area, left aligned, prefixed with the date and time, and your user code.
You can view the file by double-clicking it in the list.
If you need to add a PRIVATE attachment, use Job menu > Add PRIVATE attachment. PRIVATE attachments can only be viewed by the lab. PRIVATE attachment names appear in red text.
Receiving attachments from the dentist
The incoming attachment's file name will be shown in the Attachments area, right aligned, and prefixed with the date and time and user's code.
You can view the file by double-clicking it in the list.
|