How to get here
Tools menu > Control Centre > Setup Wizard > Depts / Stages.
From this screen you can set up your departments and stages, to help you categorise your jobs.
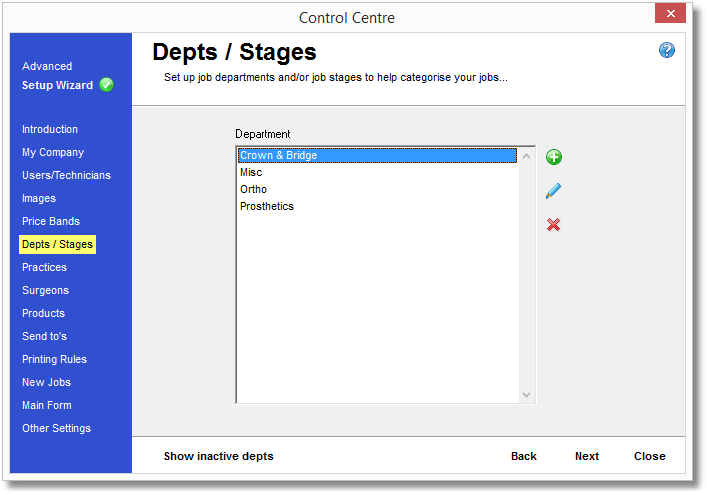
Using the icon strip on the right, click the white 'plus' symbol in the green bubble. You will be prompted to enter a name for the new job department or stage. Leave "Active" ticked or the new department will not be available for use.

Select the department you wish to edit from the list, then using the icon strip on the right, click the pencil icon.
You will be presented with the same screen as for Adding a Job Department (above) where you can rename the department or change the active status of it using the "Active" checkbox. This will mark the department as either available or unavailable for use, although to make this department available you should leave a tick mark in the box.
 Delete a Job Department
You can either delete a department permanently from the Lab Manager database, or you could mark it as inactive so that it is unusable until you mark it as active again. This could be useful for departments that you no longer wish to use, but may be beneficial to keep for future use.
To delete a department for good, select the item in the list, then using the icon strip on the right, click the red cross icon. You will be asked to confirm the action.
You can swap between viewing active and inactive items using this button at the bottom of the page.
You can mark an item as active or inactive by ticking or clearing the "Active" box when modifying the department properties (see above). An inactive item isn't usable by the system, but can be made usable again by making it active.